Tuesday 31 December 2019

Happy New Year !!

Hello friends,

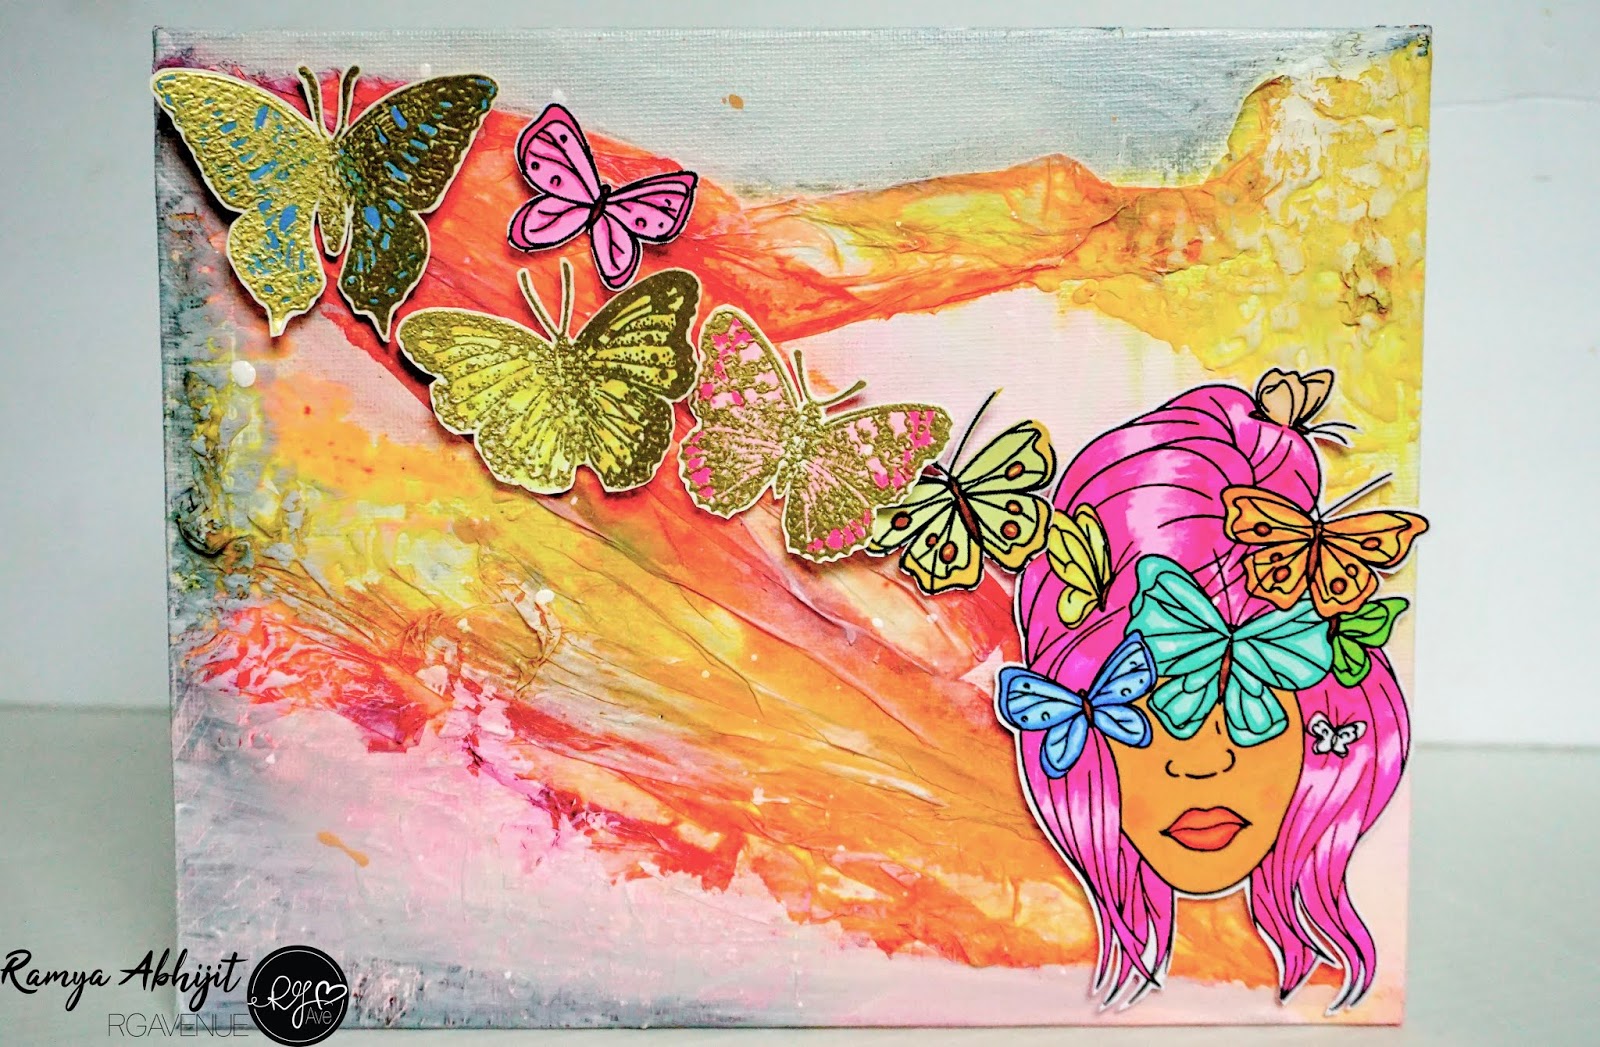
Wishing you a Happy new year, may this year bring you happiness. Its been a month since I posted anything on my blog, I was little busy with our trip to India. I'm back to share a Ganesha canvas painting again, as you all know that He is my favorite.


Tutorial:
  • Sketch a rough diagram of Ganesha face on the canvas using pencil.
  • Use Acrylic colors like burnt sienna, Raw Sienna and Ultramarine blue for the background.
  • For texture background,sprinkle some water and clean it with the tissue paper.
  • Paint Ganesha's face, ear and hand with orange and yellow acrylics.
  • Make an outline with black acrylic using round brush size 0.
  • Atlast, paint the turban with shades of green and give detailed design with metallic colors.
I have shared a video tutorial for this painting. Please subscribe to my channel Artconquers for more DIY projects.

Materials Used:
  • Canvas 
  • Acrylic colors
  • Making Tape
  • Pencil
  • Round Brush size - 0,4,8

Thanks for visiting my page and have a great day!

Friday 8 November 2019

Coffee Lovers Fall/Winter Blog Hop!!

Hello friends,
Happy to be part of Coffee Lovers Fall/Winter Blog Hop and today is the final day to link all your projects. I have designed this card using our Super Sponsor RG Avenue products.

Sadly, I don't have a coffee stamps from RG Avenue, but created one by cutting the cardstock paper into a coffee cup and stamped them with wonderful background stamps.

Materials Used:

Linking the above project

Thanks for stopping by and have a great day!

Friday 18 October 2019

Mixed Media Canvas

Hello all,
Happy Friday! Any plans for the weekend ? I am planning to see fall colors nearby places, so excited to capture those beautiful colors. Apart from that I have to do lot of crafting projects for my near and dear ones. I think I have to spend most of the nights in my crafting studio, before that I have to clean up the mess while creating the background of this mixed media canvas. Though I have enjoyed designing the textural background with napkins and reinkers.

How to:
  • Place the napkins randomly and glue to the canvas.
  • Add a little drops of Sour watermelon, sour pineapple,sweet pink,sweet banana Reinkers from RG Avenue and spray water to get the desired background.
  • Paint the edges of the canvas board with white and black acrylic.
  • Color and fussy cut the RG Avenue Flutter sight digital stamps
  • Heat emboss the butterflies from RG Avenue Be bold stampset and color them.
  • Atlast arrange the images onto the canvas board.


Products used:


Entering the above project to


Thanks for stopping by and have a great weekend!

Monday 14 October 2019

Unicorn Special card

Hi there,
Happy weekend! I don’t know when was the last time I designed a card, so decided to make one for my dearest friend who loves Rainbow unicorn. I was worried a little about this card, I think it turned out well. This wonderful stampset is from Picket Fence and I love the sentiment.

Tutorial:

  • Stamp the image onto Bristol smooth cardstock, color them and fussy cut.
  • Blend the Sour watermelon and sour Guava ink around the edges of  Sweet Pink cardstock.
  • Stamp the Mandala images using Versamark Watermark ink and heat emboss it with Ranger Princess Gold Embossing Powder.
  • Later, heat emboss the sentiment using Altenew crisp Embossing powder 
  • Complete the card by placing the colored image on the centre.


Materials used:

  • Picket Fence Kylee’s Unicorn stamp
  • Mandala Stamp from RG Avenue
  • Sweet Pink cardstoc 
  • Sour Sugar Drops 
  • Watermark ink pad
  • Altenew crisp white embossing powder 
  • Rangers princess gold embossing powder 
  • Copic markers 


Entering the above card into:
Pammiesinkypinkieschallenges pip-challenge-1941
Simonsaysstamp mondaychallenge
Timeout challenge-146


Thanks for visiting my page!


Friday 11 October 2019

Mixed Media Altered Art

Hello friends,
Hope you are doing good! It seems like a long time since I wrote my blog. I've been busy celebrating Navratri last weekend and happy to share the good news that I'm part of the wonderful team RG Aveneue. Check out their online shop filled with awesome collections of stamps, dies, inks, cardstock, stencil and many more. Now, they have an exciting deals on stamps till December, hurry up and get yours now.

One more news, "RG Avenue Share your Heart" convention is happening from Oct 9 to 12 at Arizona, follow the link for registration and don't miss this wonderful opportunity. I've used Convention release products for my mixed media Altered Art.

How to:
  • Apply a coat of white gesso over the bottle. Then paint them with green,blue and brown acrylic,allow it to dry.
  • In the meantime, stamp the image from RG Avenue "Boho lens" onto the bristol smooth cardstock and color them with copic markers.
  • Paste this colored image over the bottle. Stick some foam flowers and decorate the remaining space with RG Avenue die cut "Summer leaves"


Materials Used:
Entering the above projects to
Craftstamper take-it-make-it-challenge

Thanks for visiting my page and have a great day!

Tuesday 24 September 2019

Watercolor painting series 2 - Seascape

Hi there,

Happy Weekend! It's gonna be a productive weekend for me, lot of things need to be done for my girl's Birthday Celebration. I can't sleep at night, worried that everything should go as planned. Do you know how to be calm and contend during these situations? I think the easiest way to distract myself is to paint, so decided to do it in my way using watercolors.
Why did I choose watercolor again? Because of its nature, even once watercolor paint has dried, it remains water soluble. You can re-wet the dried paint with water on a brush and it will ‘turn’ back into paint. And the best is I can complete my project within a hour or so.
For this project, I have used a photos of "Mackinaw Bridge"from the last year's trip. It was an enjoyable and a cold trip for us, I will cherish the memories forever. I tried my level best to preserve those memories through my watercolor painting.
I have used Arches paper and camlin watercolor cake, I had so much fun in creating the waves. I have shared a video for this painting. Subscribe to my channel for more videos.

Thanks for visiting my page!

Monday 16 September 2019

Watercolor Painting series 1- Landscape

Hello friends,
I wanted to share a couple of paintings using watercolors. I'm kind of busy this month planning for my Baby girl's birthday who is turning 2. So excited to celebrate her birthday and will share some DIY Birthday projects and stuffs in the upcoming post.

Nothing is more unique than creating a piece of art from your photographs. I handpicked one of my recent clicks from a trip for my watercolor painting. I would like to mention this beautiful  place called Sleeping bear sand dunes, where dunes meet the sea. Now, moving on to my watercolor projects.

I have used arches watercolor paper and camlin watercolor cake. As a beginner, it was quite tough to use the right amount of water and the choice of colors. The next tricky part is shadows and light,still learning.SIGH!

I have created a video tutorial of this landscape painting. Please subscribe to my channel  Artconquers for more videos.


After several failed attempts, decided to paint it without shadow. LOL. I know I shouldn't have done that, To err is human. I would appreciate if you could give some tips/suggestion about watercolor medium.

Thanks for stopping by and have a wonderful day!

Wednesday 4 September 2019

Special Treat bag !

Hello friends,

Today I'm sharing a special treat box with the cute tags instead of usual card. This cute stamp "Ellie Loves to bake" is from YNS and created for their ongoing challenge. Isn' she cute ? This stampset is in offer at YNS, grab yours now.


Tutorial:
  • Follow the link to make Treat bag 
  • Stamp all the images onto the white cardstock, color and fussy cut them.
  • Use purple and pink cardstock for the tag, die cut them and apply distress ink around the corners 
  • Sprinkle some water on the tags and gently lift the colors from them using tissue paper.
  • Atlast arrange the images onto the tag and paste some clear accents on the tag.
  • Heat emboss the sentiment with white embossing powder.
  • Attach the tags along with the treat bag with help of ribbon.
Supplies Used:
  • YNS Stamp
  • PFS Classic tag Dies
  • Altene Crisp White Embossing powder
  • Memeto Black Ink pad
  • Ranger Distress ink
  • Paper studio cardstock
  • Glossy accents
  • Ribbon

Entering into the following challenges
Yournextstamp fun-friday-challenge
Simonsaysstamp wednesdaychallenge
Simonsaysstamp mondaychallenge

Thanks for stopping by and have great day !

Sunday 1 September 2019

Be Strong..

Hi there,

I'm back to share a card inspired by Freshly made sketches, celebrating their milestone of reaching Sketch #400. I have made a encouragement card using Altenew Fantasy Floral dies and the best sentiment stamps from Picket Fence.
Tutorial:
  • Die cut the Altenew Fantasy Floral die and watercolor them with purple
  • Next, make two die cut from the yellow cardstock using rectangle nested dies and mount it over the violet cardstock.
  • Arrange the the entire card onto the light purple cardstock and stamp the sentiment.
Supplies Used:
  • Altenew Fantasy Floral Die cut
  • Paper Studio cardstock
  • Picket Fence Stamp for the sentiment
  • Rectangle nested die cut
  • Camlin watercolors
Entering this card into:
Simonsaysstamp mondaychallenge
Feshlymadesketches

Simonsaysstamp wednesdaychallenge
Simonsaysstamp work-it-wednesday

Thanks for visiting my page and have a great day !

Happy Ganesh Chaturthi..

Hello friends,

I am a great fan of Lord Ganesha, happy to celebrate the day by painting him again.This day marks the birth of Lord Ganesha, who is a symbol of wisdom, prosperity and good fortune.

May Lord Ganesha always remove obstacles from your life. Happy Vinayaka Chaturthi.

Tutorial:
  • Sketch a rough diagram of Lord Ganesha's face with pencil on the canvas board.
  • Color the trunk with red ,yellow and blue acrylic .
  • Paint the entire face with dark and light blue. Then color the othe4r features like ears and hand.
  • Atlast make a vertical and horizontal strokes for the background
I have shared a video tutorial,subscribe to my YouTube Channel Artconquers for more videos
Materials Used:
  • Canvas Board 11*14
  • Fevicryl Acrylic Color
  • Camel Gloss Medium

Thanks for stopping by and have a good day!

Monday 26 August 2019

Ganesh Clay Art

Hello friends,Today's post is all about Lord Ganesha Painting using air dry clay. Ganesh Chaturthi is around the corner, so decided to create Ganesha Canvas painting.This painting is pretty simple and easy to make it. I have used homemade air dry clay.

How to:
  • Paint the canvas with black acrylic
  • Later use stencil to make a background on the canvas. 
  • Mix acrylic color with the air dry clay
  • Draw a rough sketch of Ganesha on a paper for the reference, then roll the clay and place it over the canvas and complete the entire Ganesha.
  • Allow them to dry for few hours and again paint them with the same acrylic color Rust.
I have shared a video tutorial for this art. Subscribe to my chanel for more DIY videos

Materials Used:
Canvas Board
Pencil
Paper
Stencil
Acrylic colors
Pearl metallic acrylic colors
Homemade air dry clay

Thanks for visiting my blog and have a good day!

Thursday 22 August 2019

Thanks a Melon..!!

Hello friends,

I’m back to share a Thank you card using YNS Stamp. I had so much fun in coloring these cute stamp and I adore this font sentiment "Thanks a melon"
How to:
  • Stamp all the images onto a white cardstock,color them and fussy cut it.
  • Die cut the green cardstock using MFT Rectangle nesting die cuts and mount over the white cardstock.
  • Arrange the colored images and atlast stamp the sentiment.

Materials Used:
  • One In a Melon YNS Stamp
  • MFT Rectangle dienamics
  • Strathmore Bristol smooth cardstock
  • Paper Studio Color Carstock
  • Memnto Black Inkpad
  • Copic
Linking the above card into:
Yournextstamp challenge-120
Simonsaysstamp wednesdaychallenge
Craftstamper Challenge

Thanks for stopping by and have a great day!


Thursday 15 August 2019

Acrylic Painting Series!

Hi there,

I'm back to share another take on acrylic painting. This time, I've tried to paint a simple nature scene with lotus and ducks. Hope you will recreate the same.

I've shared the video for this painting, subscribe to my channel for more videos

Materials Used:
  • Canvas Board
  • Fevicryl Acrylic colors
  • Liquitex Acrylic
  • Paint brush Size 2,4,8
  • Varnish

Thanks for visiting my page and have a great day!

Sunday 11 August 2019

Ganapati Painting!

Hello friends,
Today I'm going to share Ganesha painting. This painting is simple and easy to recreate with acrylic or any other medium.
Tutorial:
  • Draw a rough diagram of ganesha face with pencil.
  • For making this background, use masking tape and paint them with acrylic paint.
  • Atlast color the ganesha face with orange and white acrylic,follow the same process for the other features.
  • Complete the painting by drawing eyes and other details like tilak .

I have shared the video tutorial for the same. Subscribe to my Channel Artconquers for more videos
Materials Used:
Canvas Board
Acrylic Paint
Varnish
Pencil

Thanks for stopping by and have a great day !


Monday 22 July 2019

MFT Camp create Challenge Spectacular Shaker !

Hello friends,
I'm playing along MFT camp create challenge Spectacular shakers. This is my first shaker card using MFT Mini cloud outline dienamics. I had so much fun in making CAS baby boy card.
Tutorial:
  • For making this cloud shaker, die cut the mini clouds several times ( 6 to 7 times including acetate sheet) and glue them.
  • Then add some sequins to the clouds and place them onto the white cardstock. 
  • Glue some of the sequins under the clouds and stamp the sentiment.

Supplies used:
  • MFT Mini cloud outline dienamics.
  • Bristol smooth cardstock
  • Acetate sheet
  • Picket Fence shark blue sequins

Sharing this to :
Simonsaysstamp wednesdaychallenge
MFT camp-create Day 3


Thanks for dropping by and have a good day!

Sunday 21 July 2019

Wonderful watercolor!

Hello friends,
Have you participated in the MFT Camp create challenge ? If not, join the challenge, it so fun and you have to use watercolors for the Day 1. So I have created a watercolored background inspired by Stephanie.

Tutorial:
  • Stamp all the images from MFT Polynesian Paradaise stamp set onto the bristol smooth cardstock, color them and cut the shape out
  • Make the background with blue,pink,yellow and violet watercolors and allow them to dry for sometime.
  • Design the palm trees using black marker.
  • Complete the card by placing the images and sentiment.
Supplies Used:
  • MFT Polynesian paradise stamp
  • Strathnmore Bristol smooth cardstock 
  • Camlin watercolors
  • Copic markers.
Sharing this card to
Craftstamper take-it-make-it-challenge-july.html
 MFT camp-create Day 1 

Simonsaysstamp mondaychallenge
Simonsaysstamp wednesdaychallenge

Thanks for visiting my page and have a great day!