Showing posts with label art. Show all posts

Saturday, 10 June 2017

Silk Thread Jewelry

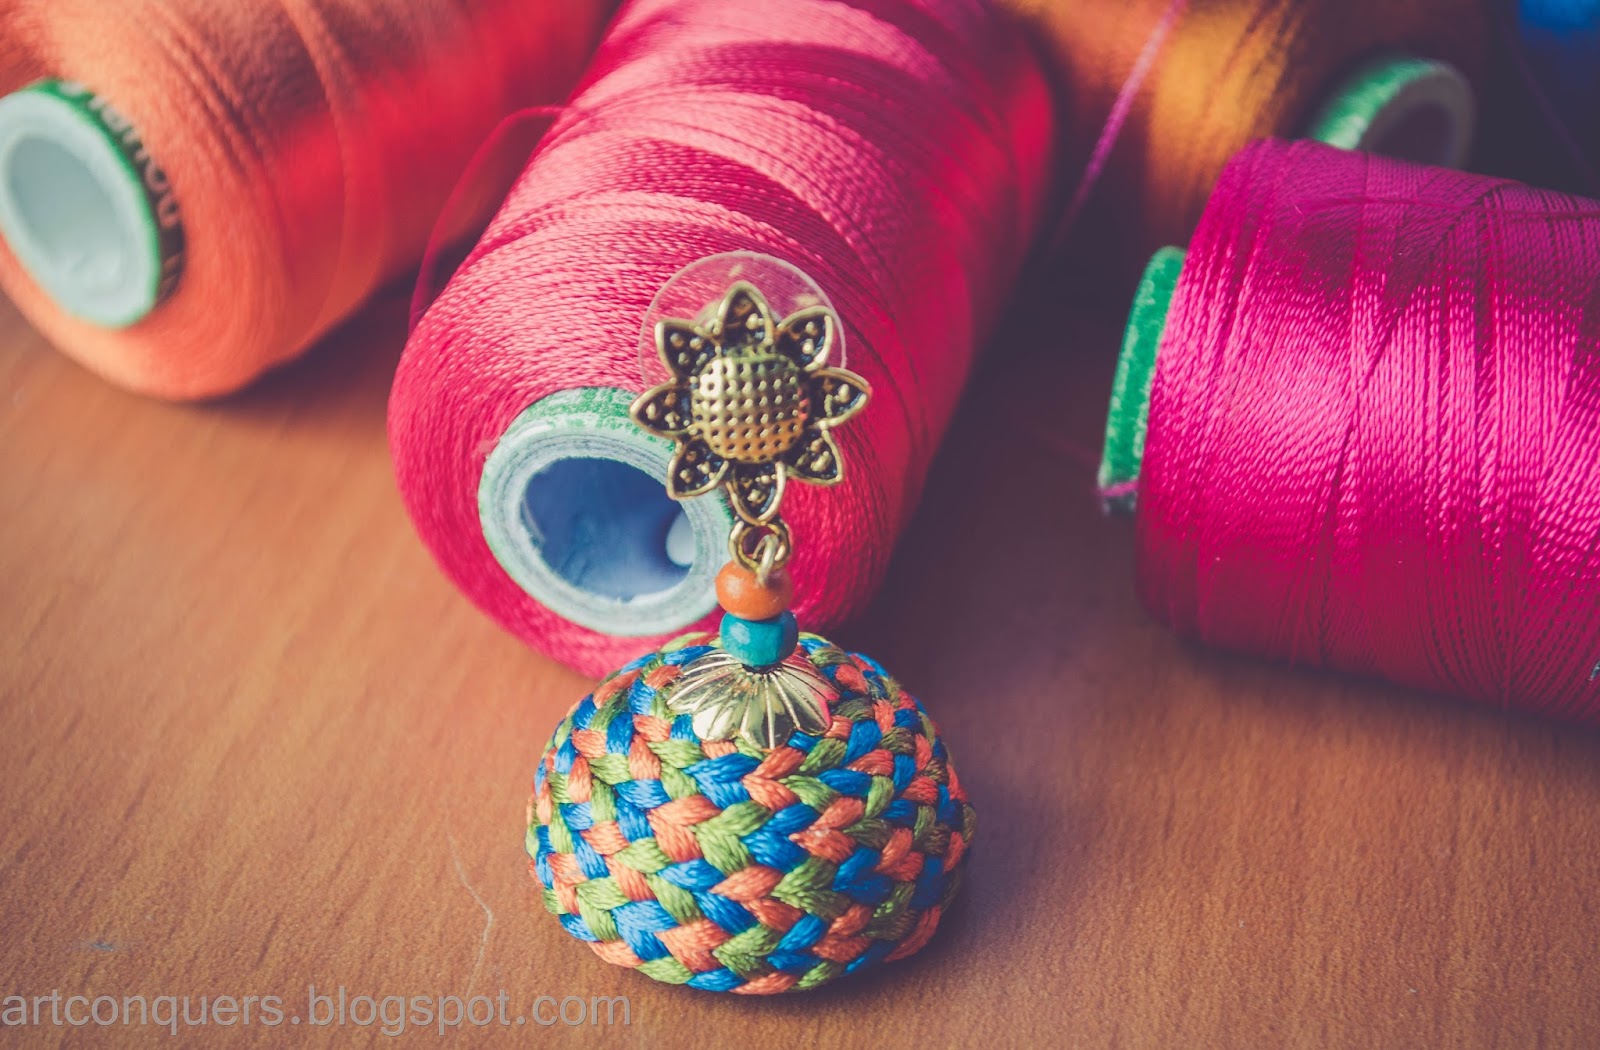
Happiness is making your own jewelry of your taste that closely matches your outfit at less price.I thought of giving a try for making silk thread jewelry which was a long pending hobby for me. Making silk thread jewelry was not only easy but quiet a lot of fun too.

Silk threads are available in local shop ranging from 15INR (Indian Rupee) to 20INR and one can make lot of earrings, bangles & necklace out of it. Other raw materials also available for making the same. 


Silk thread
Here are some raw materials which can be used for making silk thread jewelry. Refer the video.

Part of raw materials (Stone and ball chains)

I made bangles, Jhumkha, necklace and stud from the molds available in shops.

Making of Jhumkha Earring:

Make a thick strands of thread around 20-30 strip and apply glue in the starting point of the thread with molds and wrap it till the end.
Use earring head cap in the top of the jhumkha with the help of eye loop pin and finish it.
One can stick stones or ball chain in the bottom of the jhumkha to make it wonderful.


Jhumkha Earring - using base

Making of Earring stud:

There are several ways of making the stud. One of the method is using round earring base by wrapping the silk thread all over and finish it off by sticking the stones on them.


Earring stud - Using base

Next one is using canvas sheet by sticking the rhinestones in the middle followed by ball chains and stone chain based on your idea.


Earring stud - Using canvas sheet

One can use quilling round coil and start sticking the stones like the previous one. Even ready-made earring studs are available in all the shops.


Readymade stud

Making of Bangle:

Bangle making is very easy. One can wrap the silk thread all over the bangle base and at last stick the stones on them.


Bangle set for matching saree

Different varieties of Bangle 

Different varieties of Bangle 

Materials Required
  • Silk thread
  • Jhumkha base
  • Bangle base
  • Necklace base
  • Earring head cap
  • Eye loop pin
  • Head Pin
  • Running stone
  • Running ball chain
  • Glue
  • Rhinestone
  • Canvas sheet for making stud
  • Pearl 
  • Beads
  • Gear wire
  • Gear lock
  • Necklace cord
Tools Required
  • Cutter
  • Nose pliers
  • Scissors
Items are bought from 
  • Tina art & craft (Vadapalani, Chennai,India) 
  • RK Embroidery(Sowcarpet,Chennai,India) where one can get different types of materials at less price
  • Variety Center(Anna Nagar, Chennai,India)
Thanks for visiting my page.

Please subscribe to my YouTube Channel "ArtConquers"


Saturday, 25 June 2016

Terracotta Air Dry Clay: Paper Clay Vs Natural Clay

In ancient time, terracotta art were used for living. But now it became a fantasy and hobby.

I always wanted to make terracotta jewellery.Making terracotta jewellery is not that simple, it needs baking. I went through multiple sites and did research on how to bake the clay. I find it to be difficult. Then i came to know about air dry clay through one of my friend. 

There are different varieties of air dry clay and many brands too.

I just picked Natural clay and started doing a simple stud, i allowed it to dry for 24 hours, but the stud was too brittle and cracked here and there. So the next time i made a thick stud, but the end results were same as the previous one.


I wanted to try some some other clay and then i got "NARA Paper clay" and started my work. My first attempt of making the terracotta Jhumkha came good without any crack and it was kind of strong. But one disadvantage is that the outer surface is not smooth as i expected,though i was happy with the end results and painted my Jhumkha with acrylic.


Here are my collection of terracotta earrings.


So put your awesome imagination to start with terracotta jewellery making and do please let me know, the best air dry clay for making terracotta jewellery.

Thanks for visiting my page.

Sunday, 12 June 2016

Wonderful Wayanad

An outing is always better than a just team lunch. It not only involves much fun but create a lot of lovely memories. So our team opted for an outing. Everyone had their own list of places to visit like Ooty, Kodaikanal, Munnar and Wayanad. At last most of the people voted for Wayanad and we started our journey to explore the place. We arranged this trip through local tours & travels. We had train at  evening 5'o clock from Chennai and reached Kozhikode in the early morning. Again it was a 2 hours journey from Kozhikode station to our hotel. On the way we stopped our vehicle to see the mesmerised beauty of Wayanad

Way from Kozhikode to Wayanad

We reached the hotel by 10'o clock and started our trip to Meenmutty falls. We reached the falls after a long trekking. 

Meenmutty Falls

On the way to our hotel, we did elephant safari, it was an exciting one. Everyone became tired of long trekking ,even though we started playing games and dancing throughout our trip. We managed to reach our hotel around evening 6'o clock to save our energy for the next 2 days.

On the second day, we went to Edakkal caves. The caves situated at the top of the mountain. We enjoyed trekking towards the cave and  then hiking across the cave. As we climbed up, we saw a beautiful panoramic view of hill. 

Hill view from Edakkal Cave

The last day we visited Bansura Sagar Dam. We were so excited to do speed boating. It was a long queue and we waited nearly 40 mins for our turn. Indeed it was  an awesome one.

Bansura Sagar Dam

There was a park near by, everyone started playing except me. As usual I started exploring the places by clicking the snaps.

 Park near Bansura Sagar Dam

Miscellaneous

We left Soochipara falls,due to time constraint, we couldn't visit the place. Our train was at evening 7'o clock,it was awesome and a memorable trip for our team. And if u have idea of visiting Wayanad, please make sure you have enough time to cover all the places.

Thanks for visiting my page and do subscribe for further updates.

Saturday, 11 June 2016

Paper Quilled Earrings

This post is all about earrings made out of quilling paper. I made "jhumkas"(Indian traditional round shaped earring) on which i have painted some pattern with acrylic paint. I have used weaving basket and honey comb technique for the other earrings. 


To protect the earring from water, I used varnish as a top coat


I made simple roll out of quilling paper to make this stud. I painted the earring with blue color to match with my dress.


I made multiple earrings and painted some pattern on earring. One can make their own earring as per their dress combination.


I also made the earring made out of clay, still it takes time for drying, will post in the upcoming week.


Thanks for visiting my Page.

Please subscribe to my YouTube Channel "ArtConquers"

Sunday, 5 June 2016

Wallmount -- Home Sweet Home

This time I tried making quilled letters as a wall hanging. I have used pattern coloured paper as a background. I chose the "Jokerman" font style and printed the letter "HOME". I made the letter "H" different by drawing home. I have traced the letters on the blue pattern coloured paper. After that i started sticking the paper on the letter with the help of glue. I have used dark green quilling paper for the outline of the letter. For filling the letters, i have used light green,yellow and orange. Atlast i have pasted the corners with pink colour fabric tape


Materials Required
  • Quilling paper
  • Quilling Needle
  • Tweezer
  • Blue coloured paper
  • Fabric tape
  • Glue
Please subscribe to my YouTube channel "ArtConquers"


Thanks for visiting my page and keep following for further updates.

Sunday, 22 May 2016

DreamCatcher -- Catch Your Dreams

One can make a Dream Catcher using their own creativity. Generally the dream catchers are made up of round shaped metal or wooden hoop and embroidery threads are used to cover the hoop. Different colours of feathers and stones are used to decorate the Dream Catcher. I tried to make my version of Dream Catcher little unique and different from others by using Plastic canvas instead of wooden hoop and I have used different colours of woolen threads. 


If you see the centre of the plastic canvas which is decorated with the quilling(Honey comb technique). Feathers are tied at the end of the thread which is made up of star shaped beads and multicolour small beads. Dome Shaped terracotta material has been used at the end of the centre thread.


Materials Used:
  • Plastic Canvas(Butterfly shaped)
  • Quilling(Honey comb technique)
  • Woolen threads
  • Embroidery Threads
  • Star shaped and small beads
  • Feather
  • Dome shaped terracotta
Thanks for visiting my page. 
You can subscribe to my channel "ArtConquers"


Friday, 13 May 2016

Quilling -- Art to Heart

Quilling is an art that involves the uses of quilling paper that are rolled, shaped, and glued together to create decorative designs. 

Quilling is easy to learn when compared to most other crafts, and with the resources available today, Basic quilling techniques can be learned almost anywhere and there are several videos online that can teach you how to start quilling


Materials Required
  • Quilling paper
  • Quilling Needle
  • Black Sketch
  • Glue
I have shared the video for making this Quilling in my YouTube Channel.Please subscribe to my YouTube channel "ArtConquers"


Thanks for visiting my page and keep following for further updates.

Friday, 15 April 2016

Zentangle -- The Princess

This time i tried with the princess from FROZEN movie.As i said earlier in previous post, the patterns are created with their one's own imagination.


Time Taken: 1 hour
Materials Used:

  • Paper
  • Black pen
  • Pencil
  • Sketch
  • Marker
I have shared the video for making this ZENTANGLE in my YouTube Channel.Please subscribe to my YouTube channel"ArtConquers"


https://www.youtube.com/channel/UCiZ2ieKzy4J6QpOkVXmdFZg
Thanks for visiting my page and keep following for further updates.

Thursday, 14 April 2016

Nail Art -- Flamboyant ‘Fest-eves’

India is very rightly classified as a country of festivals and so only India has scores and scores of festivals, unlike any other country of the world. This is because of the diverse cultures that exist in this subcontinent. All these different cultures and religions get tied together in bonds of love with these invisible threads of celebrations. Each sect has the right to celebrate as it wishes and everyone has the right and the interest to join in all celebrations of all others.
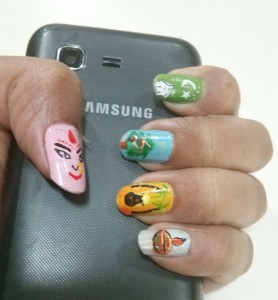
True to the above belief, I have tried to portray major 5 festivals from different parts of India through my nail art which namely are Durga Puja/Dussehara, Eid/Moharam, Christmas, Pongal and Diwali (sequence starting from thumb finger).


Materials Used: Nail Polish, Nail acrylic Paints, Paint brush
Time Taken: Less than 1 hour

Thanks for visiting my page and keep following for further updates.

Subscribe to my YouTube channel "ArtConquers"

https://www.youtube.com/channel/UCiZ2ieKzy4J6QpOkVXmdFZg

Nail Art -- Simple Nail Art tutorial

This is my first post for Nail art :) The concept of nail art became popular and very interesting one. Remember that the good looking nails equally reflect a part of your dress up. And I am sure that if you try this art once, you will really enjoy it and you would find yourself lost with this. According to me this art is purely based on ones imagination, and you can therefore design your nails according to what is the need of the hour. The best part of the story is that it is not so much time consuming and also not so costly.


Flower Design:
  • First of all using Nail Polish remover, remove old nail polish and make sure that the nails are properly cleaned.
  • Now, apply one thin layer of base coat (it would protect the nails from staining). Leave it to dry. If you think that the base is not strong, then better add one more thin layer over it. But avoid thick layers as it takes a lot of time to dry properly.
  • Next, apply the black color nail polish and wait for few minutes. Let them dry.
  • Use gold color nail polish to make straight lines on the tip of your nails as shown in the picture.
  • Now take teal color nail polish and make four dots in the black base color with the help of toothpick or ball pin or dotter tool.
  • Use sharpened tip of the toothpick and make a line from tip of the dot to the center(i.e Drag the toothpick) Do the same for remaining dots.
  • Make another dot in center to look like a flower.
  • Now comes the most important step, the top coat. Not using top coat can completely damage your hard work and the creation. Make it sure that before you apply top coat the initial nail paint is completely dried, otherwise it may intervene with other colors. I suggest that you must wait for atleast 15 minutes before you use top coat.

Thanks for visiting my page and keep following for further updates.

Sunday, 10 April 2016

Zentangle -- Owl Obsession

Is your life tangled? Untangle with Zentangle.
Zentangle is an easy-to-learn, relaxing art-form using repetitive patterns. It helps increase focus, attentiveness, and creativity. It's also fun. You don't have to be an artist. No drawing experience is necessary.

Zentangle is an abstract drawing where one can use their imagination for creating several patterns. Its very easy to draw with help of pencil, pen, sketches, markers and their shades.


Materials Used:
  • Paper
  • Black pen
  • Pencil
  • Sketch
  • Marker

Will share the video for making ZENTANGLE. However, subscribe to my YouTube channel "ArtConquers"

https://www.youtube.com/channel/UCiZ2ieKzy4J6QpOkVXmdFZg

Thanks for visiting my page and keep following for further updates.